Make Walnut Milk Fast: No Soaking & No Nut Bag Needed!
Tired of store-bought nut milks packed with additives, gums, and mysterious ingredients? Craving the fresh, creamy goodness of homemade walnut milk but put off by the overnight soaking and the fumbling with a nut milk bag? Prepare for a revelation! We're about to show you
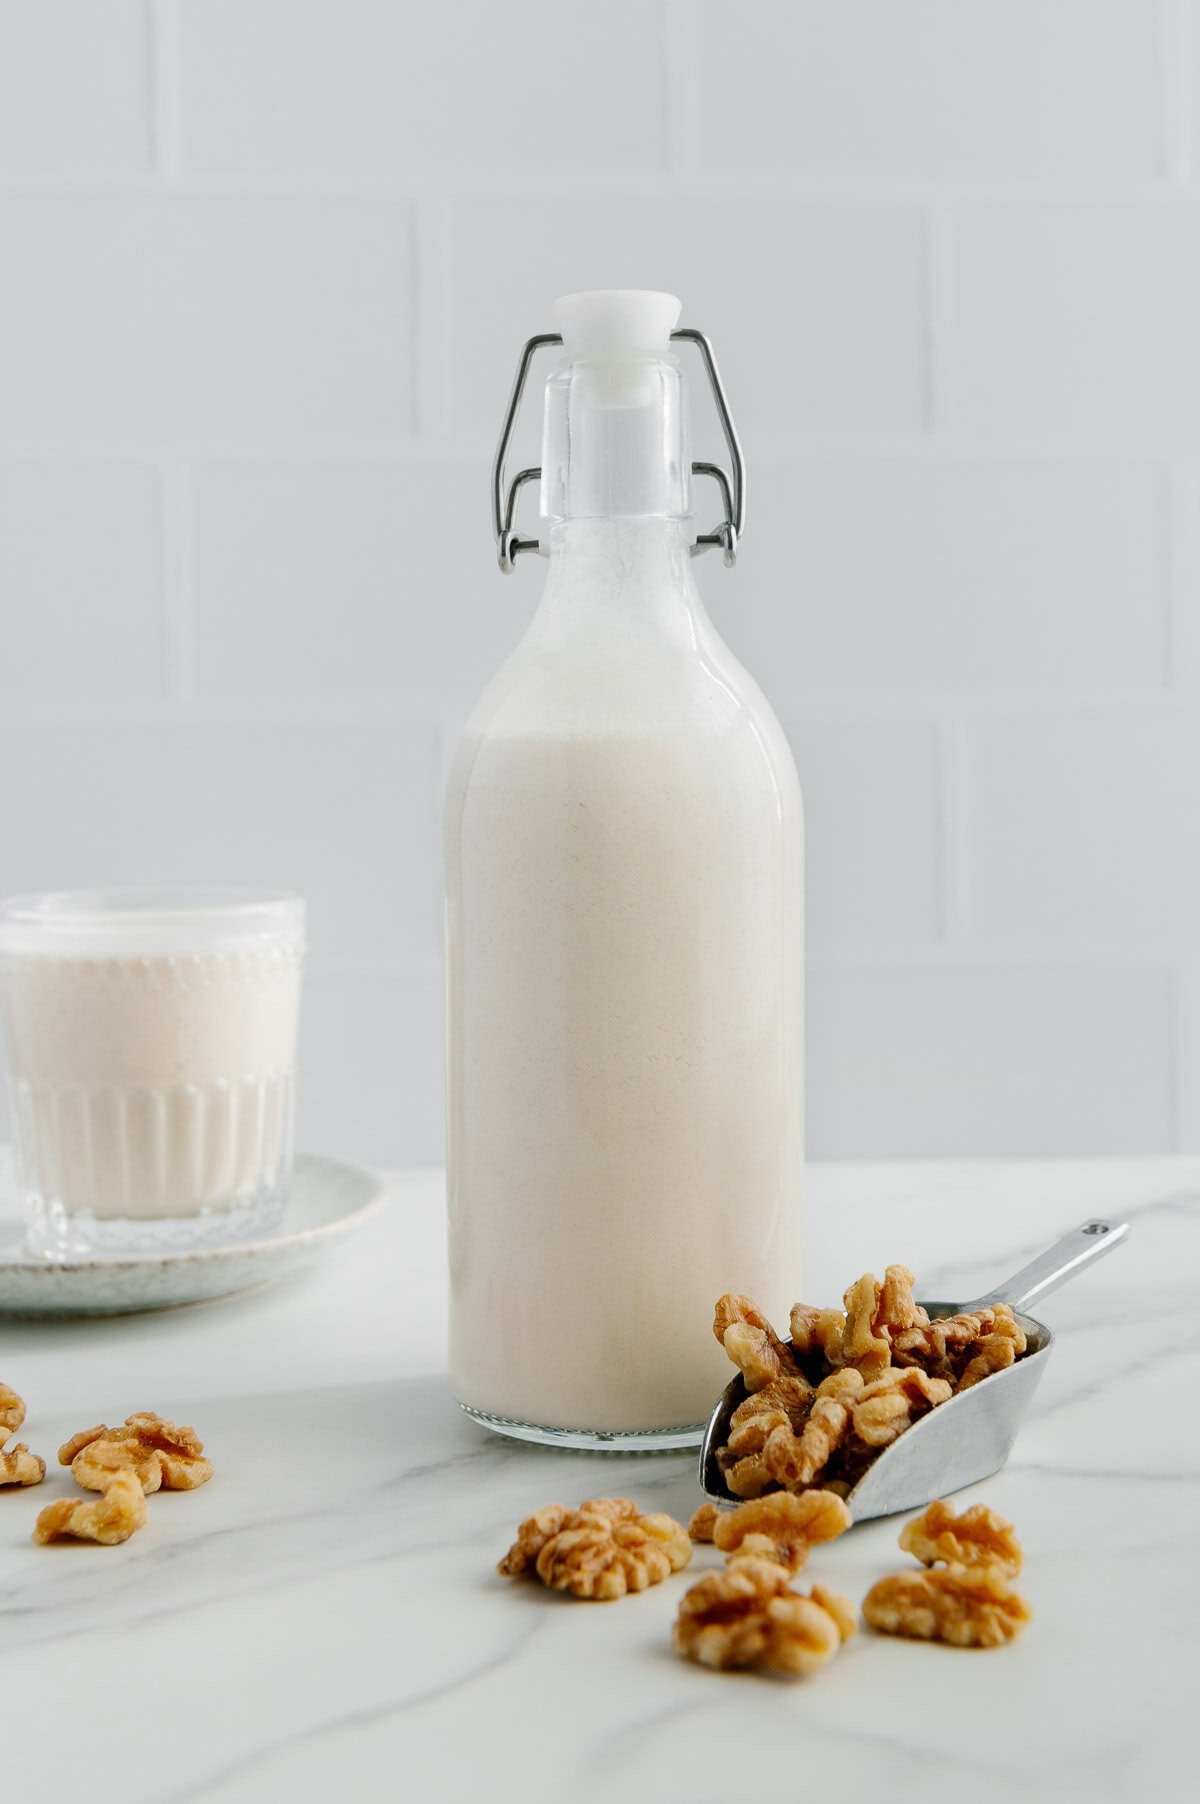
how to make homemade walnut milk that's not only incredibly fast and easy but also completely eliminates the need for pre-soaking and a specialized nut milk bag. Get ready for a delicious, healthy, and waste-reducing staple that will transform your morning routine.
This method is a game-changer for anyone seeking convenience without compromising on quality. Imagine whipping up a batch of rich, velvety walnut milk in under 15 minutes, perfect for your coffee, smoothies, or cereal. Walnuts, with their naturally softer texture and abundance of beneficial omega-3 fatty acids, are uniquely suited for this speedy, hassle-free approach, delivering a superior creaminess often unmatched by other nuts.
Why Homemade Walnut Milk is a Game-Changer (and Healthier!)
The shift from store-bought to homemade nut milk is more than just a culinary preference; it's a conscious choice for health, taste, and sustainability. When you make your own walnut milk, you regain control over every single ingredient. This means saying a definitive goodbye to:
* **Harmful Additives and Preservatives:** Commercial nut milks often contain carrageenan, guar gum, xanthan gum, and other stabilizers that can cause digestive issues for some individuals. Homemade versions are naturally free from these.
* **Added Sugars:** Many store-bought varieties, even those marketed as "plain," can contain surprising amounts of added sugars. Your homemade walnut milk is naturally sugar-free unless you choose to sweeten it yourself.
* **Artificial Flavors:** Experience the pure, unadulterated taste of walnuts, not a factory-produced approximation.
* **Excess Waste:** By making your own, you drastically reduce packaging waste and can make smaller quantities as needed, ensuring you don't waste precious nuts or end up with expired milk. You can also customize the quantity, making just a cup or a larger batch, which further reduces potential waste.
Beyond these health advantages, the fresh taste of homemade walnut milk is simply incomparable. It's creamier, richer, and more satisfying, elevating everything from your morning latte to your overnight oats. For a deeper dive into the health and taste benefits, check out our detailed article:
Why Homemade Walnut Milk Beats Store-Bought for Health & Taste.
The "No Soak" Secret: Instant Creaminess
One of the biggest deterrents for home nut milk enthusiasts has traditionally been the overnight soaking requirement. Who remembers to start soaking their nuts 8-12 hours in advance, especially when a sudden craving for creamy nut milk strikes? The good news is, with walnuts, you don't have to!
The key to skipping the soak lies in the inherent nature of walnuts. Unlike harder nuts such as almonds, walnuts have a naturally softer, more yielding texture. This characteristic allows them to break down efficiently in a high-powered blender without prior hydration. The robust blades of your blender can pulverize walnuts into a fine meal, which then emulsifies beautifully with water to create a rich, creamy liquid.
While traditional recipes advocate soaking to improve digestibility, activate enzymes, and achieve a smoother consistency, modern high-speed blenders have largely negated this requirement for walnuts. By blending them dry with water, you save precious time, making homemade walnut milk an entirely spontaneous and convenient endeavor. You'll still achieve that desired smooth texture and nutty flavor, just without the wait.
Blending Brilliance: Achieving Smoothness Without a Nut Bag
Another common hurdle in the homemade nut milk journey is the nut milk bag. While effective, it can be messy, requires diligent cleaning, and is another piece of kitchen equipment to store. Fortunately, you can achieve wonderfully smooth walnut milk without one! The secret lies in a combination of thorough blending and using a readily available kitchen tool: a fine-mesh strainer.
Step-by-Step Guide: Your Quick Walnut Milk Recipe
Here's exactly how to make homemade walnut milk quickly, without soaking or a nut bag:
**Ingredients:**
* 1 cup raw walnuts (unsoaked)
* 2-4 cups fresh water (adjust for desired thickness)
* Pinch of sea salt (optional, enhances flavor)
* 1/2 teaspoon vanilla extract (optional, for added aroma)
* 1-2 dates or a touch of maple syrup (optional, for sweetness)
**Equipment:**
* High-powered blender
* Fine-mesh strainer
* Large bowl
* Airtight container or mason jar for storage
**Instructions:**
1. **Combine Ingredients:** Add the unsoaked walnuts to your high-powered blender. Pour in 2 cups of fresh water to start. If using, add a pinch of salt, vanilla extract, and any sweeteners at this stage.
2. **Blend Thoroughly:** Secure the lid and blend on high speed for at least 60-90 seconds, or even up to 2 minutes. The goal is to fully pulverize the walnuts into the water. You want the mixture to look uniformly creamy, with no large pieces of nut remaining. Listen to your blender; it will sound like the nuts have been completely broken down.
3. **Strain the Milk:** Place your fine-mesh strainer over a large bowl. Carefully pour the blended walnut mixture into the strainer. Use the back of a spoon or a flexible spatula to gently press the pulp against the sides and bottom of the strainer, encouraging all the liquid to pass through. You might need to stir the pulp around to help the milk drain.
4. **Repeat (Optional for Extra Smoothness):** For an even silkier texture, you can strain the milk a second time. This is often not necessary with walnuts and a good strainer, but it's an option if you prefer absolute smoothness.
5. **Adjust Thickness (Optional):** If your milk is too thick for your preference, add the remaining 1-2 cups of water to the strained milk, a little at a time, stirring well until you reach your desired consistency.
6. **Store:** Transfer your freshly made walnut milk to an airtight container or mason jar. Store in the refrigerator for 3-5 days. Always shake well before each use, as some separation is natural.
What about the leftover pulp? Even without a nut bag, you'll still have a small amount of fine walnut pulp left in your strainer. Don't waste it! This nutrient-rich pulp can be composted, added to smoothies for extra fiber, or even incorporated into baked goods like muffins or energy bites. By opting for this method, you not only simplify the process but also maximize your use of the walnuts, embodying a zero-waste approach. This quick and easy method ensures your homemade walnut milk is fresh, customizable, and completely additive-free. For more ideas on how to achieve this, see our article
Easy Homemade Walnut Milk: Fresh, Customizable & Additive-Free.
Customizing Your Walnut Milk: Thickness, Flavor & Usage
One of the great joys of making your own walnut milk is the endless potential for customization. You are the master of your milk!
Achieving Your Ideal Thickness:
The ratio of walnuts to water is your secret weapon for dictating thickness.
* **For Ultra-Thick Cream or Barista-Style Milk:** Start with a 1:1 ratio of walnuts to water (e.g., 1 cup walnuts to 1 cup water). This will yield a very rich, almost cream-like consistency, perfect for frothing or adding a decadent touch to desserts.
* **For Standard Whole Milk Consistency:** A 1:2 ratio (1 cup walnuts to 2 cups water) is a popular choice, offering a balanced richness that works well in most applications.
* **For Thinner, Skim Milk-Like Consistency:** If you prefer a lighter milk, similar to skim milk, you can go up to a 1:3 or even 1:4 ratio (1 cup walnuts to 3-4 cups water). This is great for cereals or lighter beverages.
Remember, you can always start with less water and add more gradually after the initial blending and straining, adjusting to your personal preference.
Infusing Flavor:
While the natural taste of walnut milk is delightful on its own, you can elevate it with simple additions:
* **Sweetness:** For a hint of sweetness, blend in 1-2 pitted Medjool dates or a tablespoon of maple syrup or agave nectar. Start with a small amount and add more to taste.
* **Vanilla:** A splash of pure vanilla extract (1/2 teaspoon per batch) adds a lovely warmth and aromatic complexity.
* **Salt:** A tiny pinch of sea salt (just a quarter teaspoon) might sound counterintuitive, but it actually enhances the natural sweetness and depth of flavor in the walnuts, making the milk taste richer.
* **Spices:** For a seasonal or spiced version, consider blending in a pinch of cinnamon, nutmeg, or cardamom.
Versatile Usage Ideas:
Once you have your fresh, homemade walnut milk, the possibilities are endless:
* **Coffee & Tea:** Its inherent creaminess makes it a fantastic dairy-free addition to your morning coffee, lattes, or chai tea. It froths surprisingly well for a non-dairy milk.
* **Smoothies:** A perfect base for any smoothie, adding healthy fats and a subtle nutty flavor.
* **Cereal & Oatmeal:** Pour it over your favorite granola, muesli, or incorporate it into your morning bowl of oatmeal.
* **Baking & Cooking:** Substitute it for dairy milk in recipes for pancakes, muffins, sauces, or even creamy soups to impart a unique, wholesome richness.
* **Desserts:** Use it as a base for dairy-free puddings, custards, or ice cream.
Storage Tips:
Store your homemade walnut milk in an airtight container, preferably a glass mason jar, in the refrigerator. It will typically last for 3-5 days. As it contains no stabilizers, some natural separation will occur, so always give it a good shake before each use.
Conclusion
Making your own walnut milk from scratch has never been this easy or accessible. By embracing the "no soak" and "no nut bag" method, you eliminate the common barriers that once made homemade nut milk seem like a chore. In just minutes, you can create a fresh, creamy, and customizable plant-based milk that's free from additives, packed with omega-3s, and significantly more delicious than anything you'll find on a store shelf.
So, ditch the guilt of forgotten overnight soaks and the mess of straining bags. With a good blender, a fine-mesh strainer, and this simple guide on
how to make homemade walnut milk, you're ready to unlock a world of fresh flavors and healthy choices. Give it a try – your taste buds, your body, and your wallet will thank you!